


4 Hacks to Help You Become a Micropoint Pro
January 27, 2020
Share


January 27, 2020
Share
Hero mail is the best mail! With your delivery of Micropoint for Blemishes, you’ve decided to take charge of your breakouts and tackle a deep pimple before it shows its ugly head. However, don’t decide to skip over the instructions, even if you are a Mighty Patch pro! Remember that Micropoint is a different sort of acne patch, for a different sort of pimple - with a different set of directions!
We’re here today to walk you through exactly how to use Micropoint for Blemishes, so you can get the best possible results with our microneedle patch.
It’s a zit known by many names: blind pimple, hidden pimple, early-stage pimple, under skin pimple. Whatever you want to call it, this is the pimple that Micropoint for Blemishes was designed to heal. When acne develops under the skin’s surface, there’s no visible whitehead, but you can feel a blind pimple lurking, often painful to the touch and red from inflammation.
That early-stage pimple is Micropoint’s sweet spot. It will help to speed up the pimple lifecycle, so you don’t have to wait weeks to months (yes, it can take months) for it to come to a head.
RELATED READ: Blind Pimples: What They Are and How to Get Rid of Them
Cleanse and dry skin thoroughly before applying Micropoint for Blemishes. The last thing you want to do is push dirt, debris and oil from your skin’s surface into a developing pimple with microneedles! And when your skin is totally dry, you get maximum stickiness and staying power from the patch.
In the wise words of Salt-N-Pepa, push it real good! (We apologize for getting that song stuck in your head for the next few hours.)
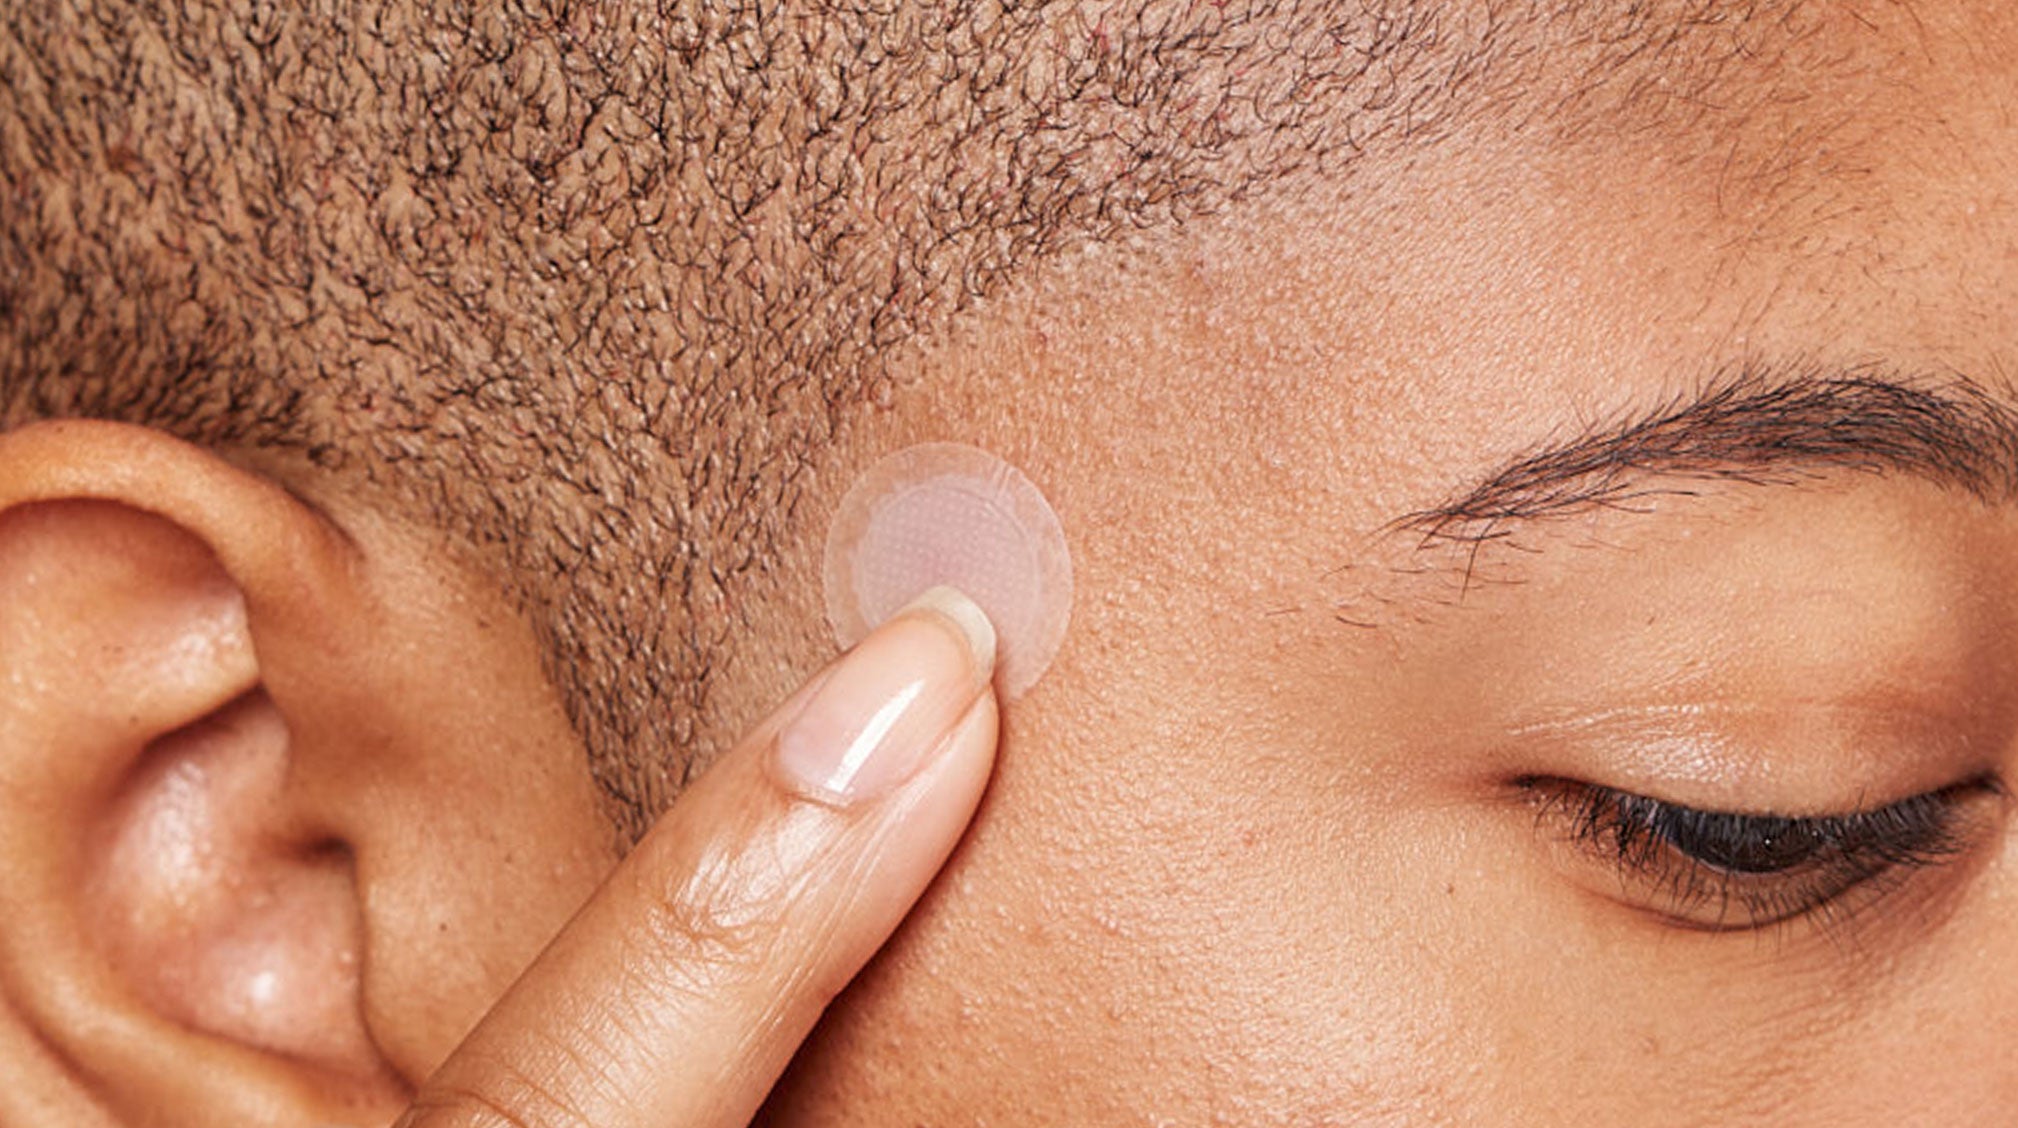
The magic of Micropoint is the physical element - 173 Micropoints that dissolve powerful ingredients straight into the source of a pimple. Those hyaluronic microneedles are precisely why Micropoint for Blemishes works so much better than a topical v that simply cannot reach an under skin pimple. To ensure maximum microneedle penetration (and maximum blemish busting), you’ll want to press down on the patch for 15-30 seconds. Be sure to press on both the center and the edges, so the patch adheres correctly and stays put all night long.
As we mentioned earlier, hidden pimples typically take weeks (and sometimes months) to become a whitehead. And while Micropoint for Blemishes significantly slashes that waiting time, it’s not going to happen in an hour. Leave your patch on for at least six hours. Better yet, leave it on overnight. Skin cell division and regeneration peaks at 2 a.m., which is why the night is the ideal time for treating and healing skin. Also, keep in mind that if your pimple was very early stage, you may need to use a second Micropoint patch to see results.
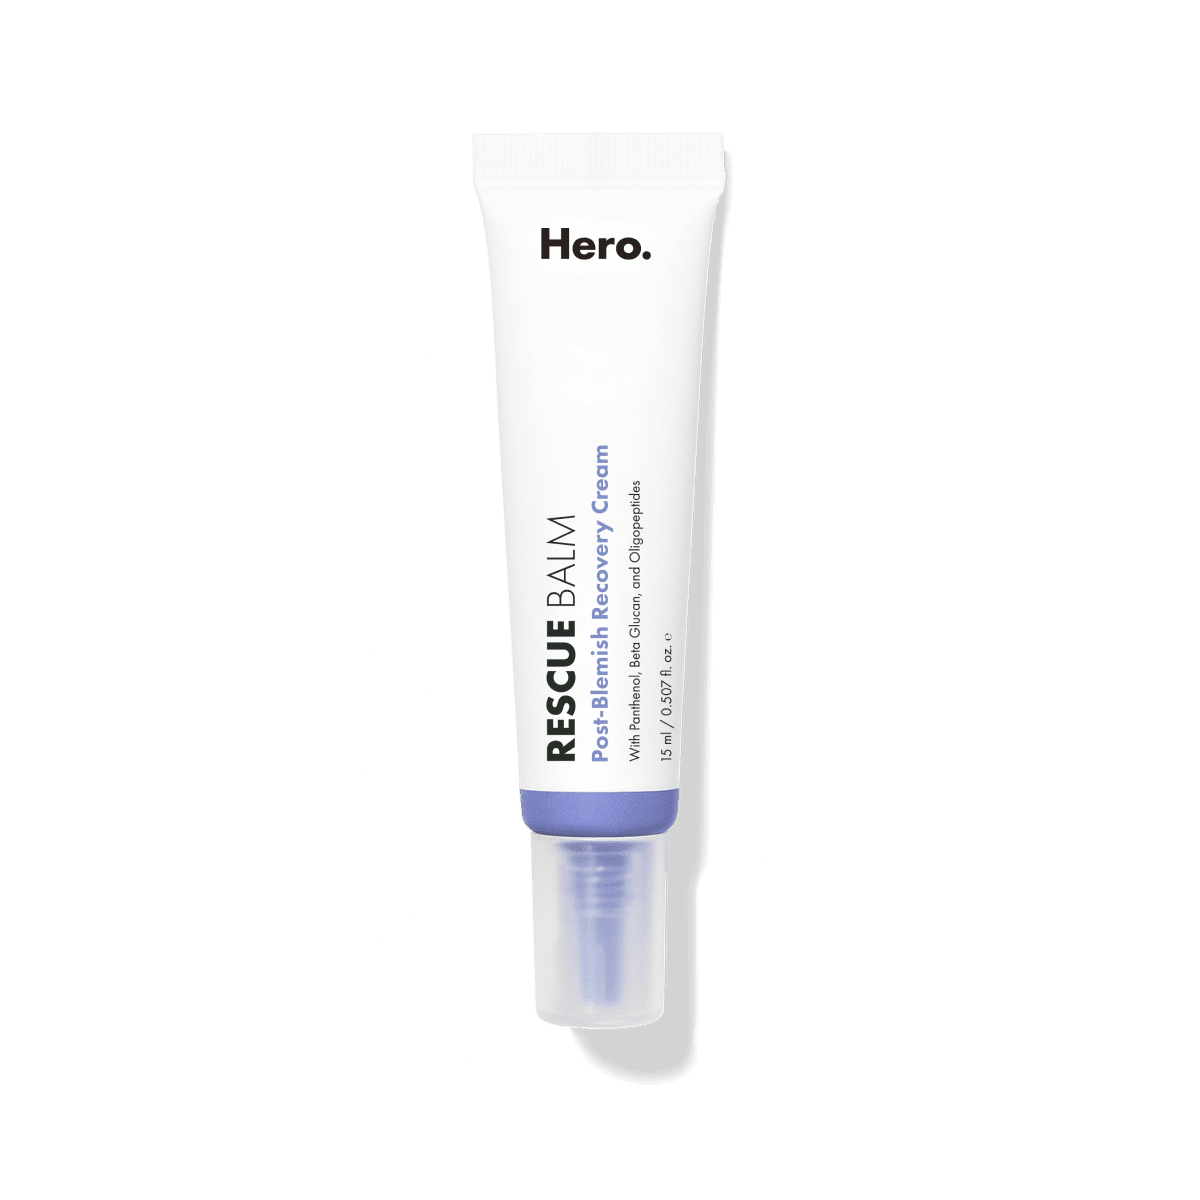
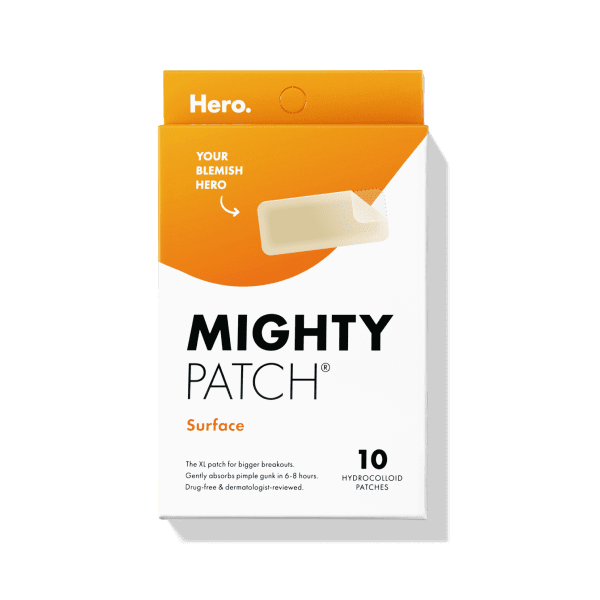
Once your blind pimple becomes a whitehead, use a Mighty Patch Original or Invisible+ to finish the job (aka clear out all the pus and gunk)!
Have you tried the Micropoint for Blemishes acne patch? Do you have any hacks to share with our readers? Let us know in the comments below!
[[product-ad]]
Spread the Knowledge
